Knowing how to blow dry hair at home is the difference between a frizz mess and a shiny, smooth bouncy blowout that lasts until 2am. If your attempts at home don’t match what you thought you were going to get in the chair, you’re not the only one. Trust us, it’s not your hair’s fault either. You’re probably using the wrong combination of tools and technique. At GK Hair, our stylists have perfected the salon blowout down to a repeatable routine even beginners can follow. This guide walks you through the entire process: prepping, choosing the dryer, section by section technique, and important finishing touches.
How to Prep Your Hair Before a Blow Dry
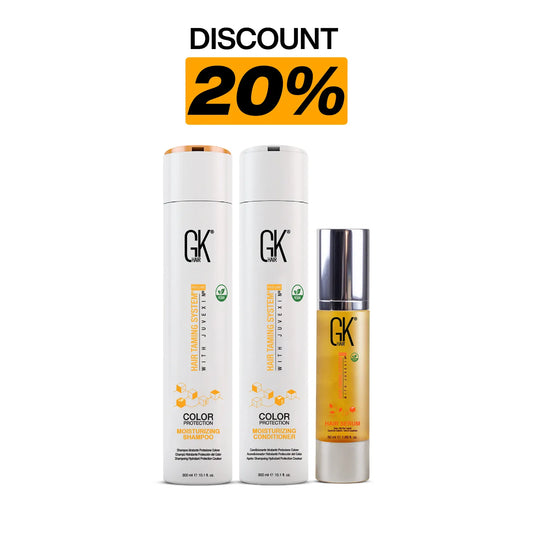
Make sure your hair is clean and washed with a sulfate and alcohol free shampoo and conditioner. Our Moisturizing Shampoo and Conditioner cleans without stripping moisture.
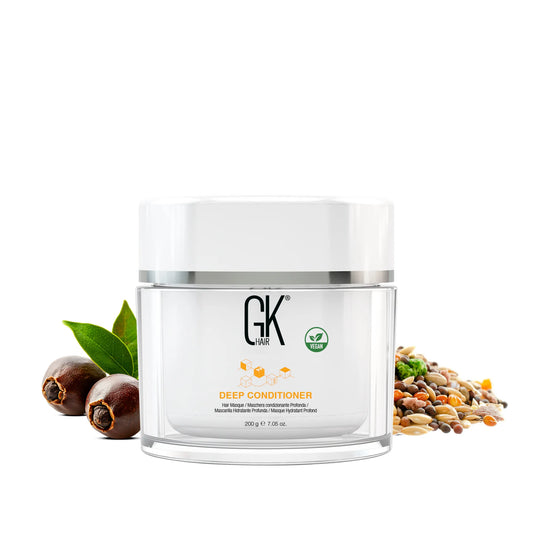
How often you wash depends on your hair type. Wash every 2 to 3 days for fine hair, every 5 to 7 days for textured or curly hair, and every other day if you have colored hair. Stylists interviewed by WebMD make the same point: a blowout holds longest when it starts on properly clean hair. Don’t forget to use a Deep Conditioner before blow drying as a pre blowout treatment if you have damaged or dry hair. This will restore moisture that heat styling pulls out.
Then use a towel to dry gently. Squeeze instead of rubbing because rubbing roughens the cuticle and makes hair frizzy. Opt in for a microfiber or cotton towel for best results.
Detangle With Care
Your hair should be detangled before heat touches it since blow drying knots breaks strands. Use a wide tooth comb or wet brush for damp hair and work from ends up.
A leave-in makes this easier while adding a layer of protection. Our GK Hair Leave-In Conditioner Cream detangles, smooths, and primes hair for styling in one step. Best for dry or tangle-prone hair needing moisture before heat styling. Pump a small amount through damp min lengths and ends. Comb through.
Choose the Right Tools
Your tools are just as important as your technique, with the dryer playing a big role. Picking the best hair dryer for your hair type is the difference between a quick, smooth blowout from a slow, frizzy one.
Here's how the common dryer tech compares:
For wattage, look for 1800 to 2000W for enough power to dry efficiently without cranking the heat high. Ion Pro Blow Dryer uses ionic technology to cut drying time and make hair shine. Use the diffuser attachment for curly hair to keep your curl pattern intact, and the concentrator nozzle for sleek, straight results. Use it alongside a round brush suited to your hair type, a metal round brush adds extra shine and helps set the style.
Stylist's Corner
Pro tip from our stylists: always start your blowout at the nape of the neck as this is the densest part. When you reach the top layers, the bottom is set and holding shape. Working bottom to top keeps finished sections out of your way.
GK Hair stylists across 75+ countries recommend drying hair to about 80% with your hands or a nozzle before bringing in the round brush. Starting the brush work too early wastes time and overexposes your hair to heat; this one habit prevents over-frizzing and noticeably cuts styling time.


Finishing Your Professional Blow Dry at Home
The finish is the part most people rush, and it shows. Learning how to blow dry hair properly includes the last two minutes: when every section is cooled and dry, hit your whole head with one more pass of cool air to set the style so it lasts all day.
If you want a polished, retro inspired shape, curl the ends under with your round brush and a shot of heat, then a cool blast to hold it. To finish, run two or three drops of a lightweight serum through your lengths for shine and frizz control without weighing hair down. And if frizz keeps creeping back no matter what you do, our breakdown of what causes frizzy hair covers the usual culprits.
How Do You Protect Hair From Heat When Blow Drying?
Always use a heat protectant before using hot tools. Pay attention to the ends where damage appears first. A protectant forms a barrier that slows the moisture loss heat causes. This is the biggest thing to be aware of with heat damage.
Our GK Hair Argan Oil Serum is used as both a heat protectant and shine finisher. It is infused with argan oil to smooth and shield each strand. It is the Best for all hair types seeking lightweight frizz control and shine without added weight. Use three to five drops on damp hair before blow drying, and then a touch more on dry hair to finish. Take a look at our guide on protecting hair from heat for more. You can also read up on the science of heat styling and hair health at Healthline.
Conclusion
Learning how to blow dry hair at home comes down to four things: prep your hair properly, choose the right dryer, work section by section with downward airflow, and protect hair from heat. Follow these core steps and master a smooth, bouncy, salon worthy results at home! Trusted by salons in 75+ countries, GK Hair has the tools and products to make it happen, from the Ion Pro Blow Dryer to our lightweight serums and leave-ins. Explore our blowout and styling collection at GK Hair and give your next blow dry the professional finish it deserves!